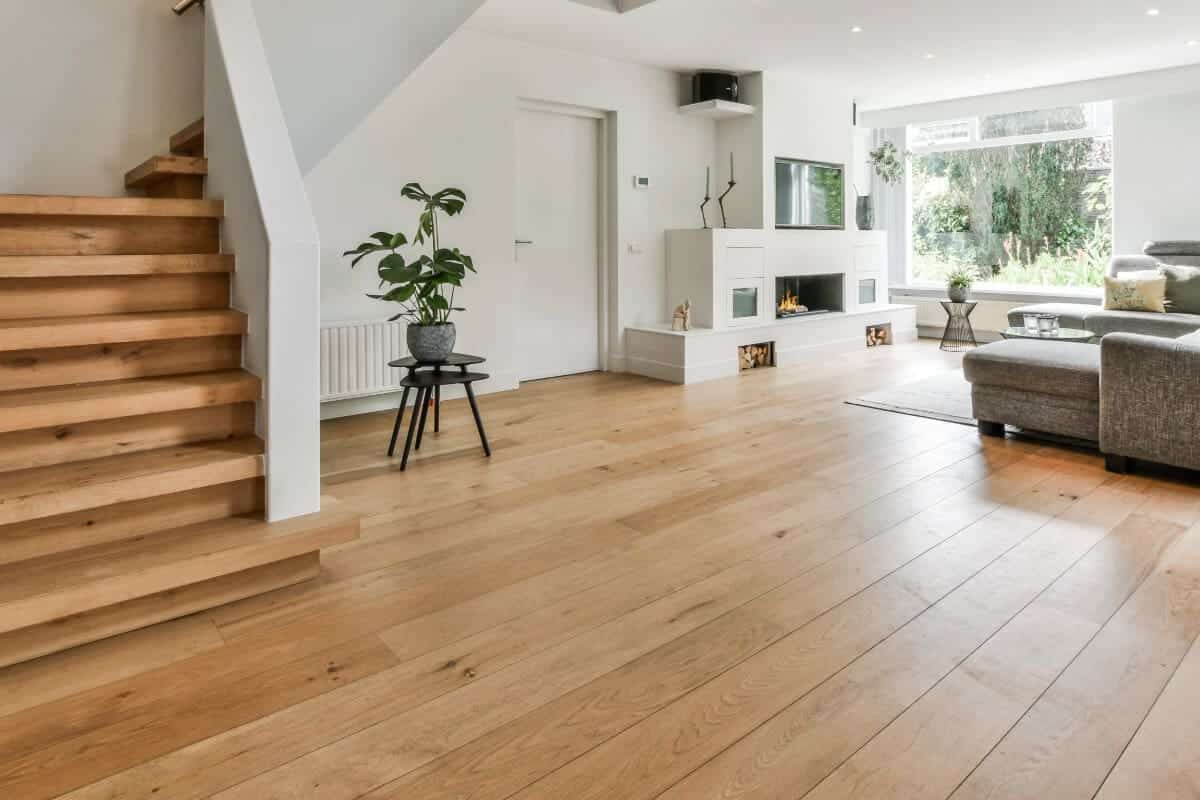
When planning the layout and design of your home’s flooring, creating a seamless and attractive transition between different materials is essential.
This guide will explore strategies and considerations to ensure these transitions look great and enhance your space’s functionality and safety. With an eye for design and practicality, we’ll help you achieve a beautiful, cohesive flooring transition.
Table of Contents
- Design Considerations for Floor Transitions
- Choosing the Right Transition Strips
- Installation Tips and Tricks
- Related Content
Design Considerations for Floor Transitions
Tile to Wood Floor Transitions: Achieving a Seamless Look
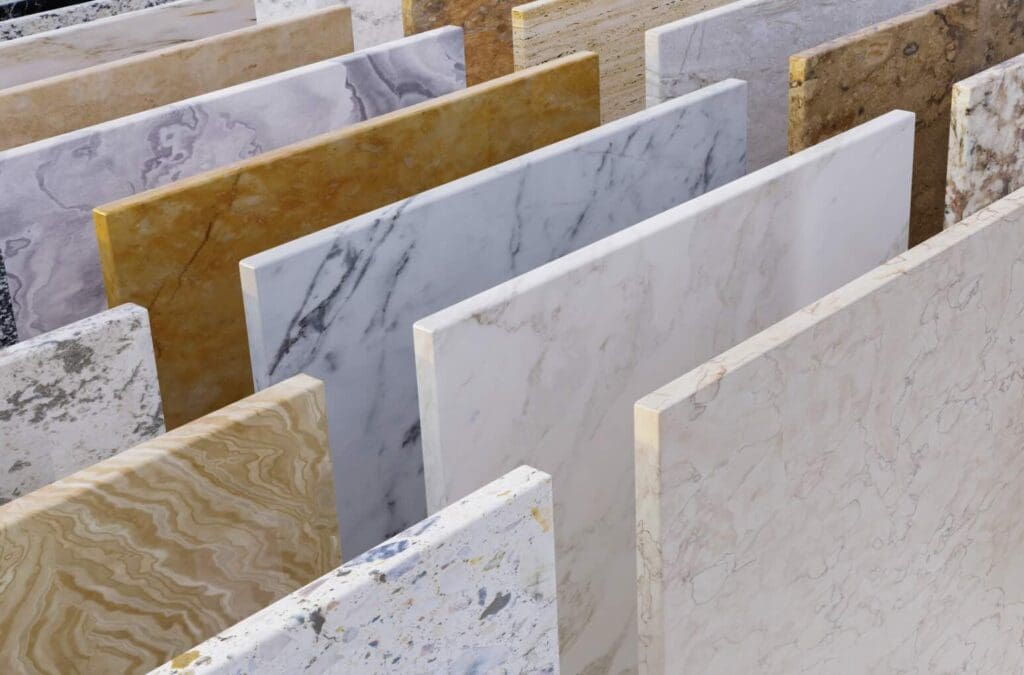
When creating a cohesive look between different flooring materials in your home, mastering the transition from tile to wood floors is necessary. This guide will walk you through critical design elements that ensure a smooth and visually appealing transition between these popular flooring options.
Understanding Transition Options
- T-Molding: This is a popular choice for rooms where the tile and wood floors are at the same level. T-molding is named for its T shape, which fits snugly between the two materials, allowing for natural expansion and contraction of the wood.
- Reducer Strip: A reducer strip is ideal for a noticeable height difference between tile and wood floors. This transition piece gradually slopes from the higher tile floor to the lower wood floor, providing a smooth transition and minimizing tripping hazards.
- Flush Transition: A flush transition works best for a clean, minimal look. This requires the two flooring types to be the same height, making the transition nearly invisible. Planning with your contractor can ensure that both floors are aligned perfectly for this seamless effect.
Design Considerations
- Color Coordination: Aim for a transition piece that complements the tile and wood colors. If you have dark wood floors, consider a darker-hued transition to match, or pick a lighter shade if both floors are lighter.
- Material Choice: While wood and tile are the primary materials, the transition piece can vary. From matching wood to metals or even custom-designed ceramic pieces, selecting a material that reflects the overall design theme of your space is crucial.
- Style Consistency: The style of your transition should echo the aesthetics of the two flooring types. For instance, a rustic wood floor paired with traditional ceramic tiles may call for a transition with a more natural, understated look, such as a simple wood strip.
Installation Tips
- Plan Ahead: Plan the transition before installing either floor. This could involve adjustments like grinding down the high spots on a concrete slab or using thin-set mortar to raise the height of the tile.
- Use the Right Tools: The right tools, from trowels for spreading mortar to saws for cutting transition pieces, are paramount for a clean finish.
- Seek Professional Help: While some homeowners are comfortable tackling flooring projects, hiring a professional can ensure the transition is beautiful and structurally sound.
Creating a seamless transition from tile to wood floors enhances the flow of your home and adds a polished look to your space. You can achieve a harmonious blend between your flooring materials by considering the critical design elements of transition options, color coordination, material choice, and style consistency.
Remember, successful transitions are as much about function as form, ensuring a safe and stunning flooring combination.
Choosing the Right Transition Strips
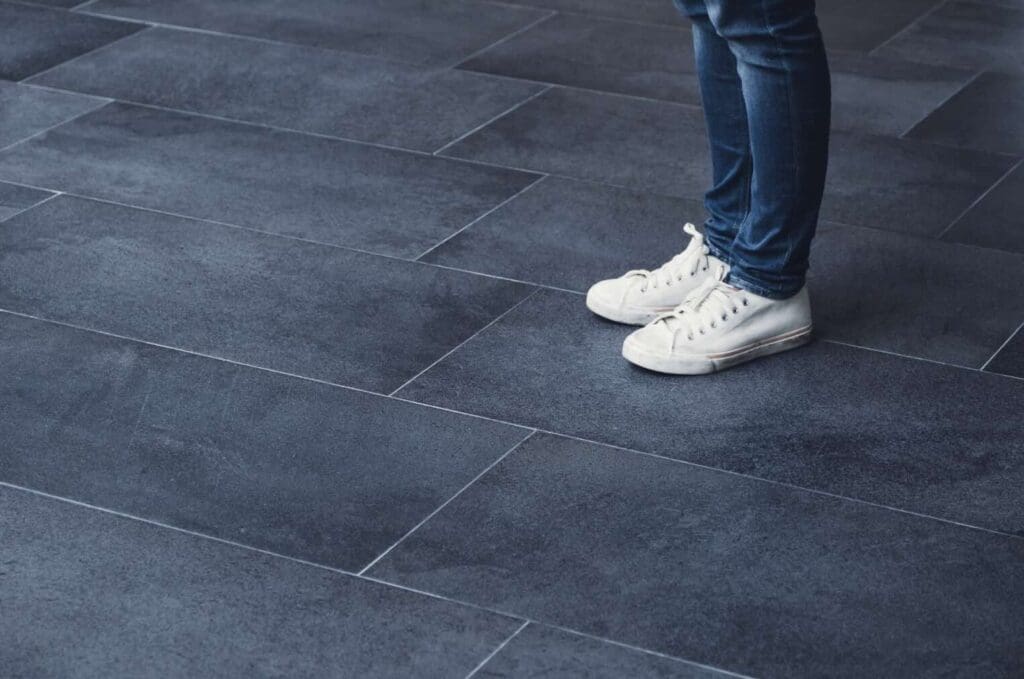
When perfecting your home’s flooring, it’s pivotal to zero in on the finishing touch that ties everything together: the transition strip. While we’ve covered the basics, like understanding your options and picking the right color and materials, mastering this detail is more important. Let’s dive into some additional insights to ensure your space looks polished and functions beautifully.
One crucial aspect to consider is the height disparity between different flooring types. Imagine stepping from a plush carpet in your living room to sleek hardwood in your dining area. If there’s a noticeable height difference, a transition strip known as a threshold or ramp may be your go-to.
This smooths out the change, making moving from one area to another safer and more comfortable. It’s about blending functionality with aesthetics, ensuring the flow of your space isn’t interrupted by unexpected steps or trips.
Your home’s climate is surprisingly significant when selecting a transition strip. Materials that can withstand expansion and contraction are essential for homes with high humidity or fluctuating temperatures.
Metal or vinyl transitions can offer the flexibility and durability needed. These materials adjust to changes without warping, ensuring your floors look seamless year-round. It’s a small detail that can greatly impact maintaining the longevity and beauty of your flooring.
Ease of maintenance is another factor to weigh in. Think about the cleaning routine for your floors. You’ll want a transition strip that doesn’t just complement your flooring but also simplifies upkeep.
Metal strips, for instance, may require less attention than wood, which might need periodic refinishing to match your floors. Selecting a strip that aligns with your lifestyle ensures your flooring remains a source of pride, not a point of stress.
While getting caught up in current trends is easy, consider how your choice will stand the test of time. A transition strip that’s too trendy might feel outdated sooner than you’d like. Striking a balance between fashionable and timeless can help your space feel current yet enduring. It’s all about creating a home that evolves with your style while maintaining its foundational charm.
Ultimately, the safety of your space is paramount. The correct transition strip does more than just bridge gaps; it protects. Especially in homes with young children or elderly residents, ensuring that transition strips are securely installed and free from sharp edges is vital. These thoughtful details turn a house into a safe, loving home.
Remember that the devil is in the details when wrapping up your flooring project. From contemplating height differences and climate conditions to prioritizing safety and ease of maintenance, each choice contributes to the harmony and functionality of your home. Selecting the appropriate transition strip might seem small, but it sets the stage for seamless beauty and practicality throughout your space.
Installation Tips and Tricks
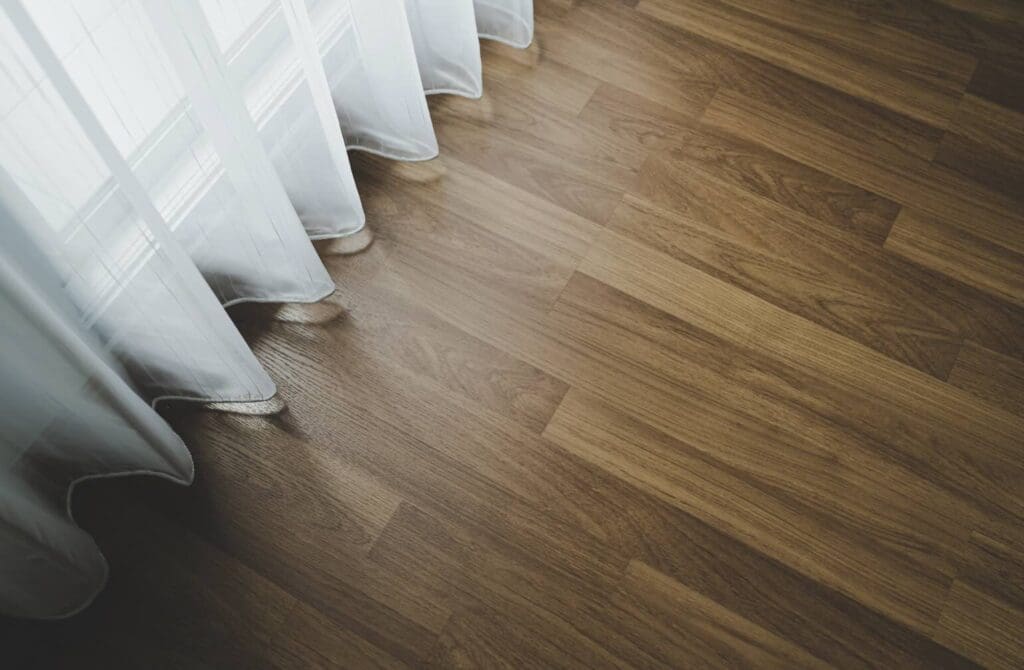
When tackling transitions between different flooring materials or levels in your home, thinking about the finishing touches often makes all the difference. Here are additional professional techniques key to achieving a seamless flow from one area to the next.
Overlap Transition Strips
These are specifically beneficial when working with floors that are not the same height but close enough and you wish to avoid a trip hazard. Overlap strips work wonders by gently sloping to the lower floor, providing a safe and smooth transition. They’re convenient for carpet-to-hard flooring transitions, ensuring no abrupt edge to catch feet on.
Custom Thresholds
Sometimes, the standard transitions aren’t cut, especially in unique architectural designs or when aiming for a specific aesthetic. Custom thresholds can be crafted from the same material as either of the floors or a completely different but complementary material. It adds a touch of elegance and a custom feel to your transitions, making them look intentional and designed rather than just functional necessities.
Grout for Tile Transitions
When transitioning from tile to another type of flooring, matching the grout color to the adjacent floor can subtly enhance the transition. It’s a simple trick that visually ties the two areas together, even when the flooring types differ significantly. For example, a darker grout next to dark hardwood can make the transition less jarring and more cohesive.
Directional Changes
The direction in which your flooring is laid can impact the perception of space and transition. In open-plan homes, changing the direction of wood planks or tiles can delineate different areas without physical barriers. This technique can guide the eye naturally across the space, creating a distinct but fluid separation between the functions of each area.
Incorporating Accent Strips
Accent or feature strips can be placed between different flooring types to create a deliberate design feature. These can be made of wood, metal, or even a contrasting tile color. They add an artistic element to the transition and can help bridge the gap between different styles or colors of flooring.
By incorporating these professional strategies, you can achieve a polished and harmonious home interior that transitions effortlessly from one area to the next.
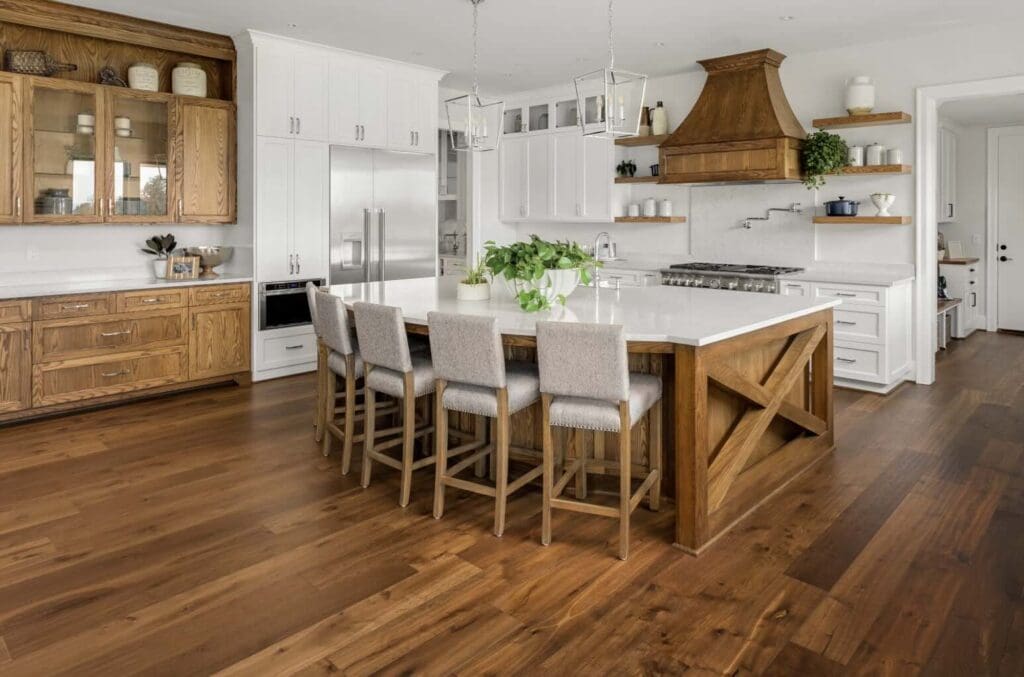
Ensuring a smooth transition between floors in your home is the final touch that brings together the aesthetic and functionality of your space. By carefully selecting the right materials, colors, and types of transition strips, you can effortlessly marry different flooring types.
This not only elevates the beauty of your home but also ensures a safer, more cohesive living environment. Remember, the details in your flooring transitions can significantly influence both the look and feel of your entire home, making it a critical aspect of your home design to get right.
Find out more about how Mondoro can help you create, develop, and manufacture excellent home decor and furniture products – don’t hesitate to contact me, Anita. Check out my email by clicking here or become a part of our community and join our newsletter by clicking here.
Mondoro gives out a FREE Lookbook to anyone interested. You can receive a copy of our latest Lookbook by clicking here.
Listen to our Podcast called Global Trade Gal. You can find it on all major podcast platforms. Try out listening to one of our podcasts by clicking here.
Subscribe to our Mondoro Company Limited YouTube Channel filled with great videos and information by clicking here.
Related Content
How Do You Hand-weave Faux Rattan In Vietnam?
Vietnam is a significant manufacturer and weaver of faux rattan furniture and other faux rattan items; Vietnam has readily available faux rattan materials and a highly skilled workforce that can weave complex faux rattan wicker furniture and other faux rattan items.
You can discover more by reading Hand-weaving Faux Rattan In Vietnam, What You Need to Know by clicking here,
How Do You Weave Water Hyacinth Baskets Into Home Décor Products?
Water hyacinths used to be a nuisance on the waterways around Vietnam as the water hyacinth plant grows on the water and is extremely fast-growing. Today the plant is cut and dried and then handwoven into beautiful baskets and other home decor products. The water hyacinth material can be left in its natural color, dyed or painted in various shapes and forms.
You can find out more by reading our blog About Weaving Water Hyacinth Baskets Into Home Décor Products by clicking here.
What Is The Eco-Friendly Seagrass Materials Used in Home Decor Products?
Seagrass is exactly as the name implies, a grass that grows in the sea or in areas that have saltwater. As Vietnam has access to a lot of tropical oceans, seagrass is abundant in Vietnam. A lot of the seagrass used for manufacturing home decor products is farmed to be cut and processed specifically for seagrass weaving. This seagrass is cut, dried, spun, dyed, and then woven into many different items, including baskets, lampshades, furniture, and area rugs. But seagrass also has some great eco-friendly properties that make it a great alternative to plastic.
By clicking here, you can find out more by reading our blog Eco-Friendly Seagrass Materials Used in Home Decor Products.

