Procreate is a beautiful program for designing home decor and home furnishing accessories. We love to use Procreate for our home decor and home furniture tray product designs.
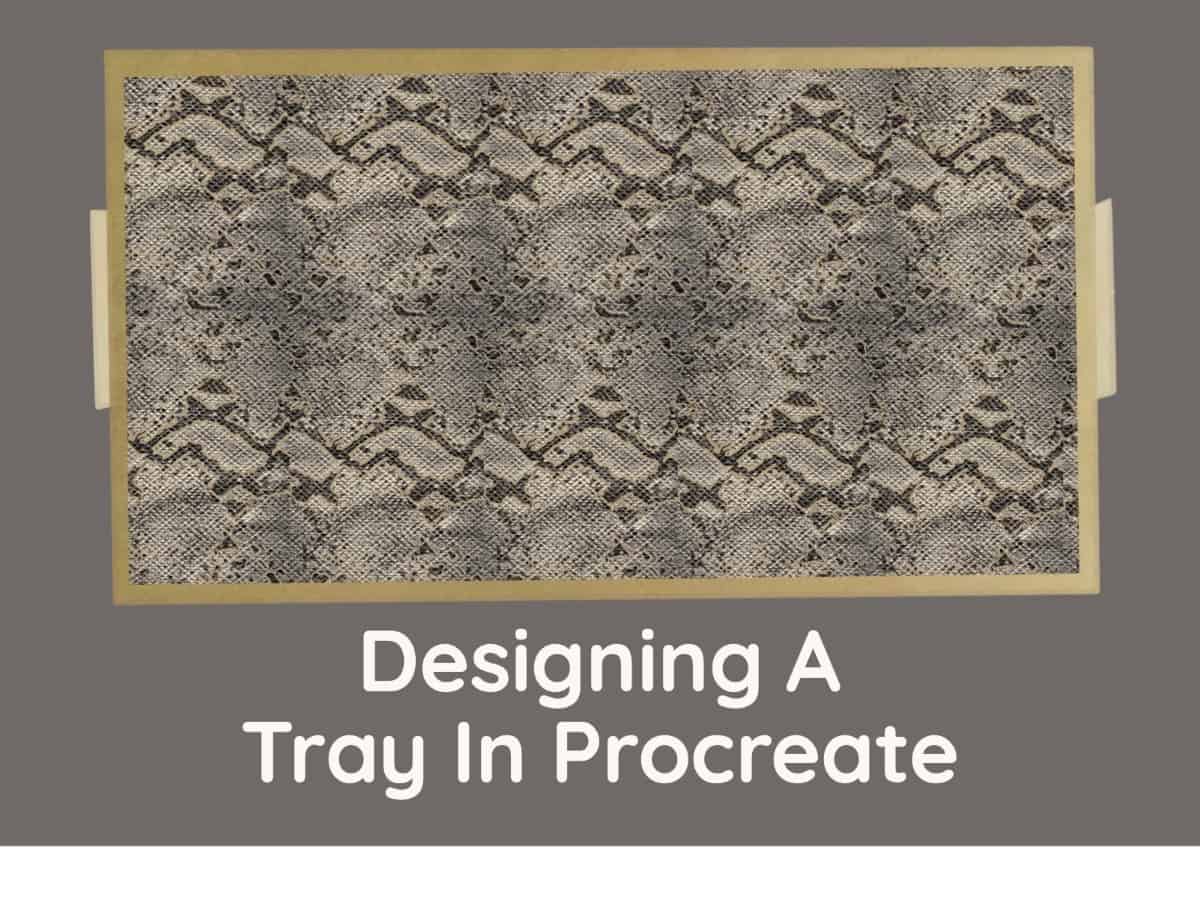
Designing a home decor accessories tray in Procreate is easy if you follow our 4 simple steps and instructions: 1) find a tray shape to use as a reference photo, 2) import the photo into Procreate., 3) add layers in Procreate for each part of the tray, and 4) use the clipping mask function. A home decor tray is one of the more accessible product designs you can design in Procreate. If you are starting to do your home decor and home furniture product design in Procreate, a tray design would be an excellent item to start with.
Table of Contents
- Unlocking the Power of Home Decor Design with Procreate: A Simple 4-Step Guide
- My Creative Journey: 10 Reasons Why I Love Using the Procreate App for Designing Home Decor
- Related Questions
Unlocking the Power of Home Decor Design with Procreate: A Simple 4-Step Guide
Designing home decor with the Procreate app is a breeze; we can’t get enough of it. Procreate offers a straightforward method to convey your design ideas effectively, allowing you to bring your visions to life with precision and style.
Join us as we delve into the process, step by step, and discover just how Procreate can help you realize your desired looks and concepts.
Step 1 – Find a Tray Shape Reference Photo For Procreate
The first thing you need to do is find a tray shape that you will use as a reference. You can find one online, or maybe you already have the shape of a tray in your collection that you like and want to see how a change of color or a pattern will look.
You can draw out the tray from scratch on the Procreate canvas, just as you would be paper. But, we have found it much easier to start with a tray photo as a reference. This will give us an excellent base for the shape and design.
Whatever tray photo you choose, the photo will not be seen on the actual design. We usually either delete the photo’s layer once the design is completed or turn off that layer. But we never show the reference photo layer on the final design.
Step 2 – Import Into The Procreate App
Import your reference photo onto a canvas in Procreate. Before you actually import it in, we have found that it is best to crop the reference photo as close to the shape as you can. This way, you do not have a lot of extra background on your canvas, and it will make it easier to work with the photo in Procreate.
Cropping an image is usually much easier to do in another program like Apple Photos, Photoshop, or Lightroom. We do not recommend trying to crop or change it too much in Procreate, especially as the photo is only for a reference that will not be seen on the actual design.
Import the reference photo by using the add photo function on the left-hand side of the Procreate canvas. Use your two fingers to adjust the photo to the size that you want for your drawing.
The larger the reference photos and drawings, the easier it is for me to work with the design. You can constantly adjust the size later, but work on as large a surface as possible. This helps you get the details you need.
Step 3 – Add Layers, Outline, and Fill with the Procreate App
One of the most important things you can do when designing with Procreate for home decor and home furniture product design is you need to add layers. Everything shape, side, part, and design element should have its own layer.
This is where a lot of people make a mistake with their Procreate product design. They do not add a layer for each shape and each design element. Here is an example of the tray design:
- Bottom of the tray – Add a layer and draw the bottom of the tray outline, then fill the shape with color.
- Right Side of the tray – Add another layer. Outline the right side area of the tray and then fill it with a color.
- The tray’s left side – Add another layer, outline the left side of the tray, and then fill it with another color.
- Top of the tray – Add a layer, outline the tray’s top, and then fill it with another color.
- The tray’s rim – Add a layer, outline the tray’s rim, fill it with another color, etc.
As you can see from this example, every single part of the tray has a layer. This will make it much easier for you to change and adjust colors as needed or add other design elements using the clipping mask function.
When designing a home decor tray, we do not worry about the actual colors of the tray parts. In fact, we will usually do each side and part in a different color on purpose. When we are designing the tray, we can clearly see our design and if we need to make any adjustments.
We will change the colors and finish once we have outlined the entire tray.
You will also notice that when we outline the shape on each layer, we will fill it with a color. Ensuring the shape will actually fill with color is essential in this design process, especially using the clipping mask function.
Step 4 – Use The Clipping Mask Function In Procreate
We like to use the clipping mask function for almost all our colors or designs. The reason is that when you use the clipping mask function, it does not show the outline of the design but will just show the color. We find this gives a much better look for the entire design to use the clipping mask function whenever possible.
To learn more about the clipping mask function, read our blog on 4 Easy Steps Using the Clipping Mask Function in Procreate by clicking here.
We love to use Procreate and find it a useful tool to help us with all our home decor and home furniture product accessories design. Designing a tray in Procreate can be quite easy to do.
My Creative Journey: 10 Reasons Why I Love Using the Procreate App for Designing Home Decor
There’s something uniquely satisfying about designing your own home décor. It brings out my inner artist; nothing matches the feeling of creating something beautiful for my space. In my continuous journey of design exploration, I’ve stumbled across various tools and platforms, but nothing has struck a chord with me quite like the Procreate app.
Today, I’m excited to share the ten reasons why I love using Procreate for my home décor designs.
Unleashing Creativity:
The first thing that genuinely enamors me about Procreate is its sheer freedom. With its plethora of brushes and tools, I feel like there’s no limit to my creative expression. Whether I’m aiming for hand-drawn patterns for throw pillows or intricate art for wall hangings, this app has it all.
User-Friendly Interface:
I’ve dabbled with various design software, but many times, I’ve felt more lost than empowered. Procreate, however, is different. The app is incredibly user-friendly, making my design process smoother and more enjoyable, which is especially important when I’m translating my vision into intricate home décor elements.
High-Resolution Work:
Quality is key in home décor. Procreate allows me to work with high-resolution canvases ideal for printing. This means the artwork I create for maybe a custom tapestry or wallpaper retains its quality, depth, and vibrancy, ensuring a professional finish.
Portability:
As a frequent traveler, I appreciate that my studio can be wherever I am. Whether on a plane, in a café, or in a park, I can continue to work on my rug patterns or curtain designs effortlessly, making my life so much more flexible.
Advanced Customization:
The ability to create my brushes and textures in Procreate enables me to add a personal touch that is uniquely my own. This customization takes my home accessories’ designs to a new level of originality.
Efficient Workflow:
Time is of the essence for me, and Procreate’s gesture controls and quick menu options significantly speed up my design process. This efficiency means I can generate more ideas, experiment more, and ultimately, come up with sophisticated designs for anything from vases to wall decors.
Dynamic Visuals with Layers:
I love playing with layers! Procreate allows me to manipulate layers that can dramatically change my work’s dynamics. It’s particularly useful when I’m working on complex compositions for detailed home accents.
Instant Visual Feedback:
The real-time response when I use brushes or apply effects is fantastic. I get instant visual feedback, making it easier and quicker for me to adjust my decorative motifs or color schemes until they’re just right.
3D Touch Sensitivity:
Procreate’s impressive sensitivity picks up on every nuanced movement of mine, allowing for incredible precision. This feature is essential, especially when I’m working on detailed themes for home aesthetics, ensuring the most minor details are not overlooked.
Community and Learning:
Finally, the community of artists and the plethora of tutorials available for Procreate have been invaluable. I continue to learn and be inspired, which is reflected in the home decor products I create. The journey has been nothing short of educative and inspiring.
Procreate has transformed the way I approach my home décor designs. It stands as an invaluable ally in my creative process, turning what was once a daunting task into a joyous daily adventure.
Whether you’re a seasoned artist or a budding designer like me, exploring the realms of home décor, I believe Procreate could become your go-to digital canvas, opening a world of imagination and, most importantly, making it a reality.
Find out more about how Mondoro can help you create, develop, and manufacture excellent home decor and furniture products – don’t hesitate to contact me, Anita. Check out my email by clicking here or become a part of our community and join our newsletter by clicking here.
Mondoro gives out a FREE Lookbook to anyone interested. You can receive a copy of our latest Lookbook by clicking here.
Listen to our Podcast called Global Trade Gal. You can find it on all major podcast platforms. Try out listening to one of our podcasts by clicking here.
Subscribe to our Mondoro Company Limited YouTube Channel with great videos and information by clicking here.
Related Questions
How Do I Make A Pattern Repeat In Procreate?
Procreate is a great tool to use to design home decor and home furnishing accessory product design. To use the Procreate program, you must have an Apple Ipad. You can take several easy steps to make a repeat pattern in Procreate. Some of the steps are that you need to 1) import your pattern to your photos on your Apple devices. Once you have done that, 2) you are ready to start adjusting the pattern size, 3) duplicate the layers, and then move the layer around on your canvas until your pattern repeat is completed.
To find out more about using a Pattern Repeat in Procreate, you can read our blog on 6 Easy Steps to Use Procreate to Make A Pattern Repeat by clicking here.
How To Set Up A Color Palette In Procreate?
The Procreate App for Apple iPad has a palette feature that allows you to easily set up your own color palettes. This is a great tool that helps you to organize the colors you need when you are designing products by using the Procreate app. The Procreate palette tool will not only organize the palettes for you. Still, it will also show you the RGB, HSB, and Hexadecimal Value of your color, along with the exact position of the color on the color wheel. You can use several methods to find your palette colors, but one of the easier ways is to photograph the color and import the photo into Procreate.
You can discover more about how to use the Procreate palette by reading our blog Setting Up Your Color Palettes in Procreate, What You Need to Know by clicking here.